> ## Documentation Index
> Fetch the complete documentation index at: https://subframe-59800133-apg-edit-updates.mintlify.site/llms.txt
> Use this file to discover all available pages before exploring further.
# Quickstart
> Create your first project and export a design to code in minutes.
## Create your first project
1. Sign up at [subframe.com](https://subframe.com) to create your first project.
2. Configure your theme with quick presets or customize later in the Theme page.
3. Select a default navigation style for your app.
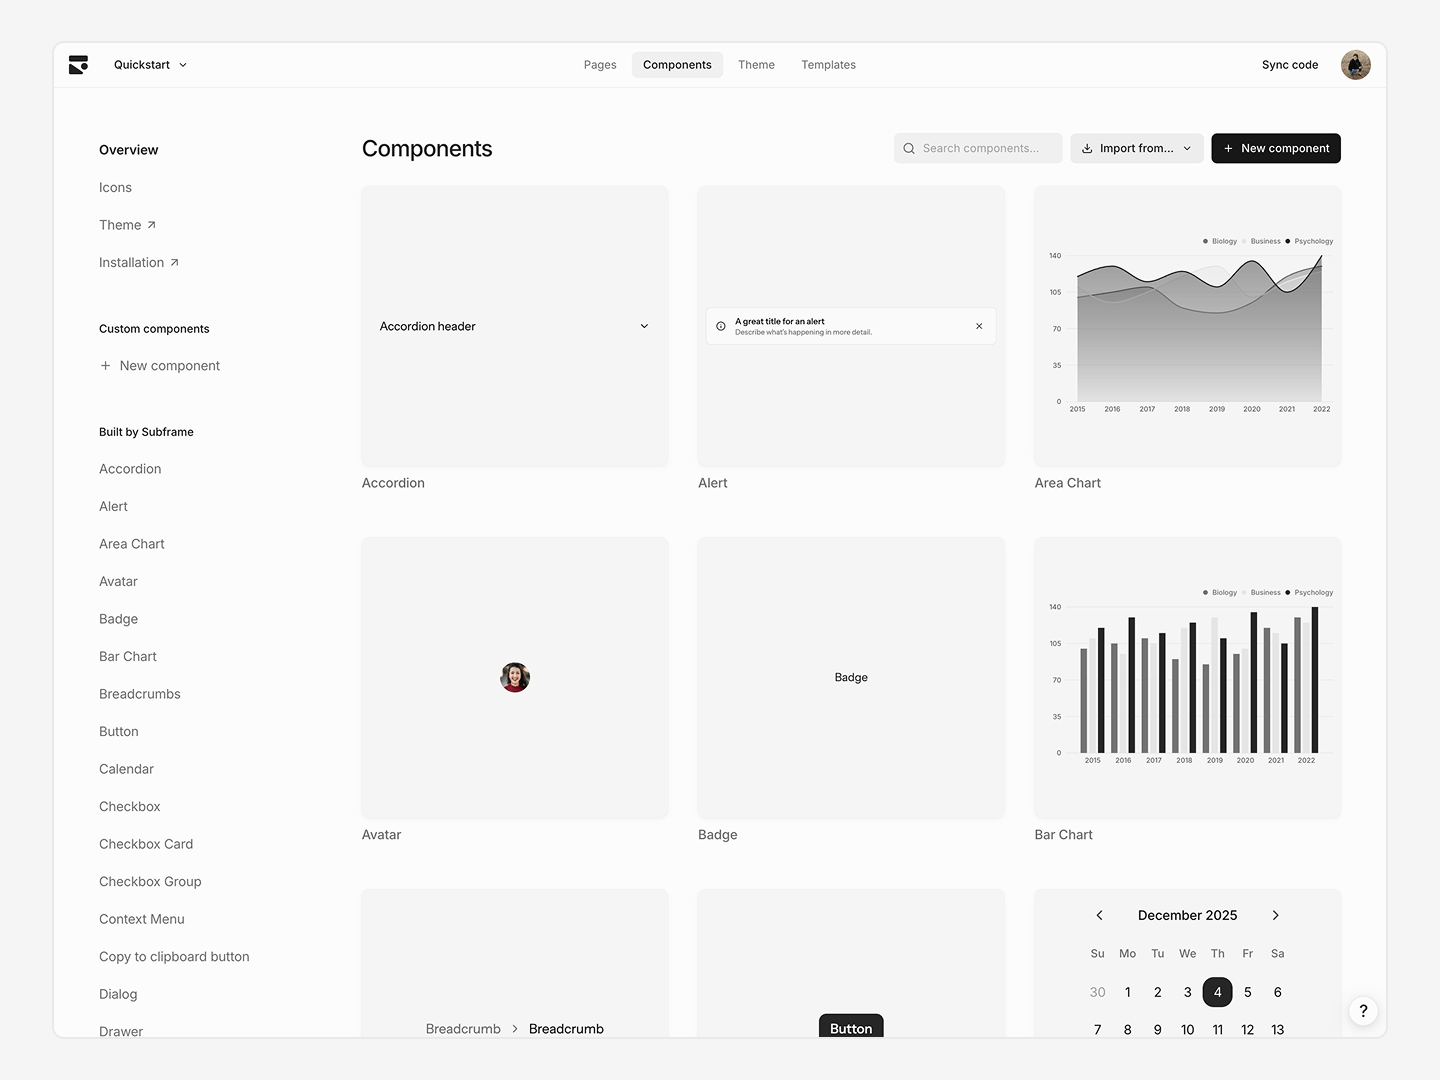 After onboarding, you will see a blank project with the base component library set up.
## Design your first page
You can create a new page with AI or start from scratch.
After onboarding, you will see a blank project with the base component library set up.
## Design your first page
You can create a new page with AI or start from scratch.
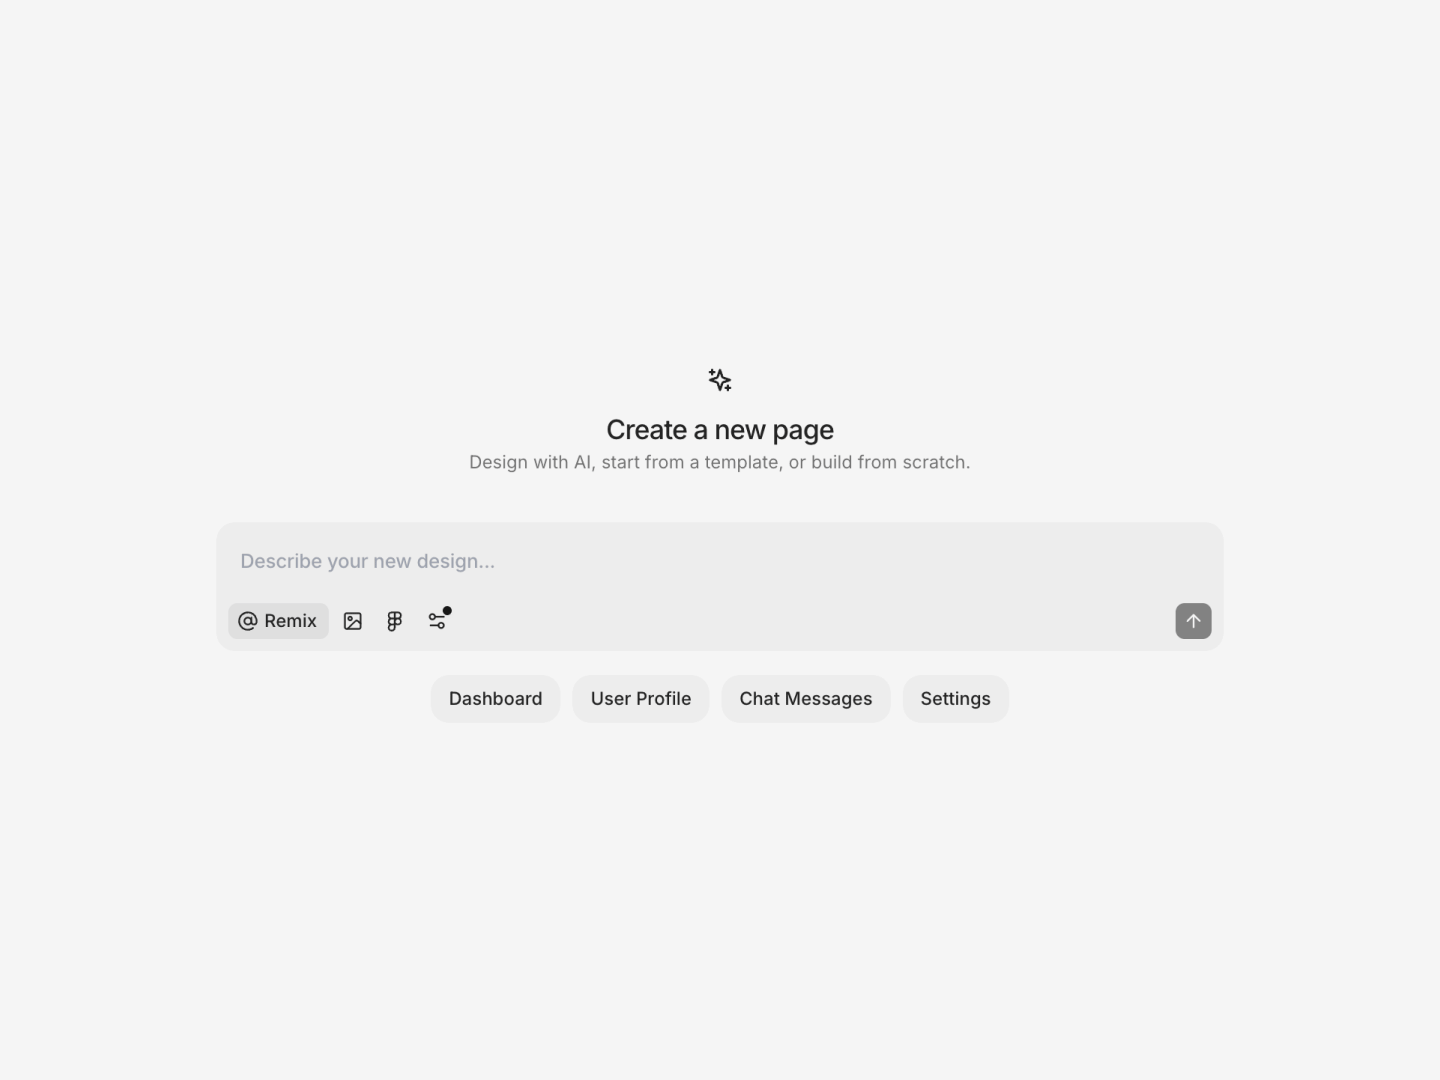 Ask AI generates multiple design variations using your theme and components.
1. Open your project and switch to **Ask AI** mode.
2. Type a prompt for the page you want to design.
3. Submit your prompt to open the page editor and wait for designs to generate.
4. Select a variation to preview in the Ask AI panel.
5. Click **Apply design** to add it to the current page.
Mix and match elements from different variations by dragging to the page from the preview.
Ask AI generates multiple design variations using your theme and components.
1. Open your project and switch to **Ask AI** mode.
2. Type a prompt for the page you want to design.
3. Submit your prompt to open the page editor and wait for designs to generate.
4. Select a variation to preview in the Ask AI panel.
5. Click **Apply design** to add it to the current page.
Mix and match elements from different variations by dragging to the page from the preview.
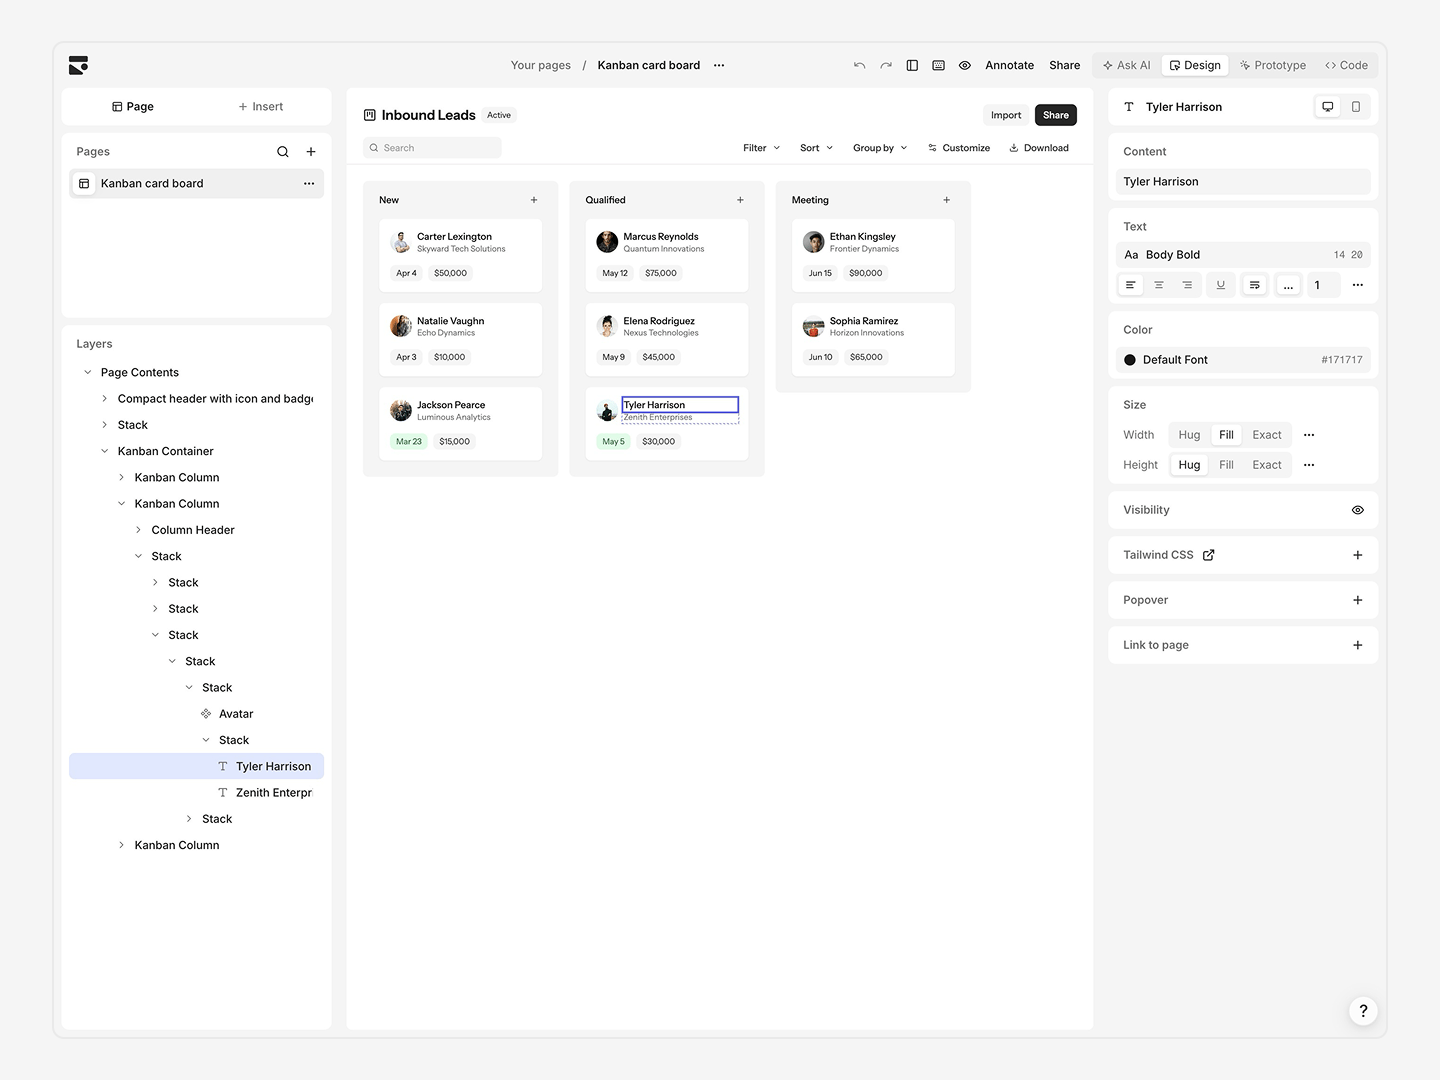 Switch to Design Mode to refine your page in the responsive page editor.
* Drag-and-drop elements on the page to rearrange.
* Select an element and click the **+** Insert buttons to add new elements inline.
* Edit styles and properties in the Inspector panel on the right.
* Right-click or press / for contextual edits to a selected element.
## Set up your codebase
Next, we'll create a new project using the Subframe Vite starter kit to implement your design. Open a new folder on your computer using Cursor or your favorite IDE.
See [Installation](/installation) for detailed instructions on setting up Subframe in a new or existing project.
Switch to Design Mode to refine your page in the responsive page editor.
* Drag-and-drop elements on the page to rearrange.
* Select an element and click the **+** Insert buttons to add new elements inline.
* Edit styles and properties in the Inspector panel on the right.
* Right-click or press / for contextual edits to a selected element.
## Set up your codebase
Next, we'll create a new project using the Subframe Vite starter kit to implement your design. Open a new folder on your computer using Cursor or your favorite IDE.
See [Installation](/installation) for detailed instructions on setting up Subframe in a new or existing project.
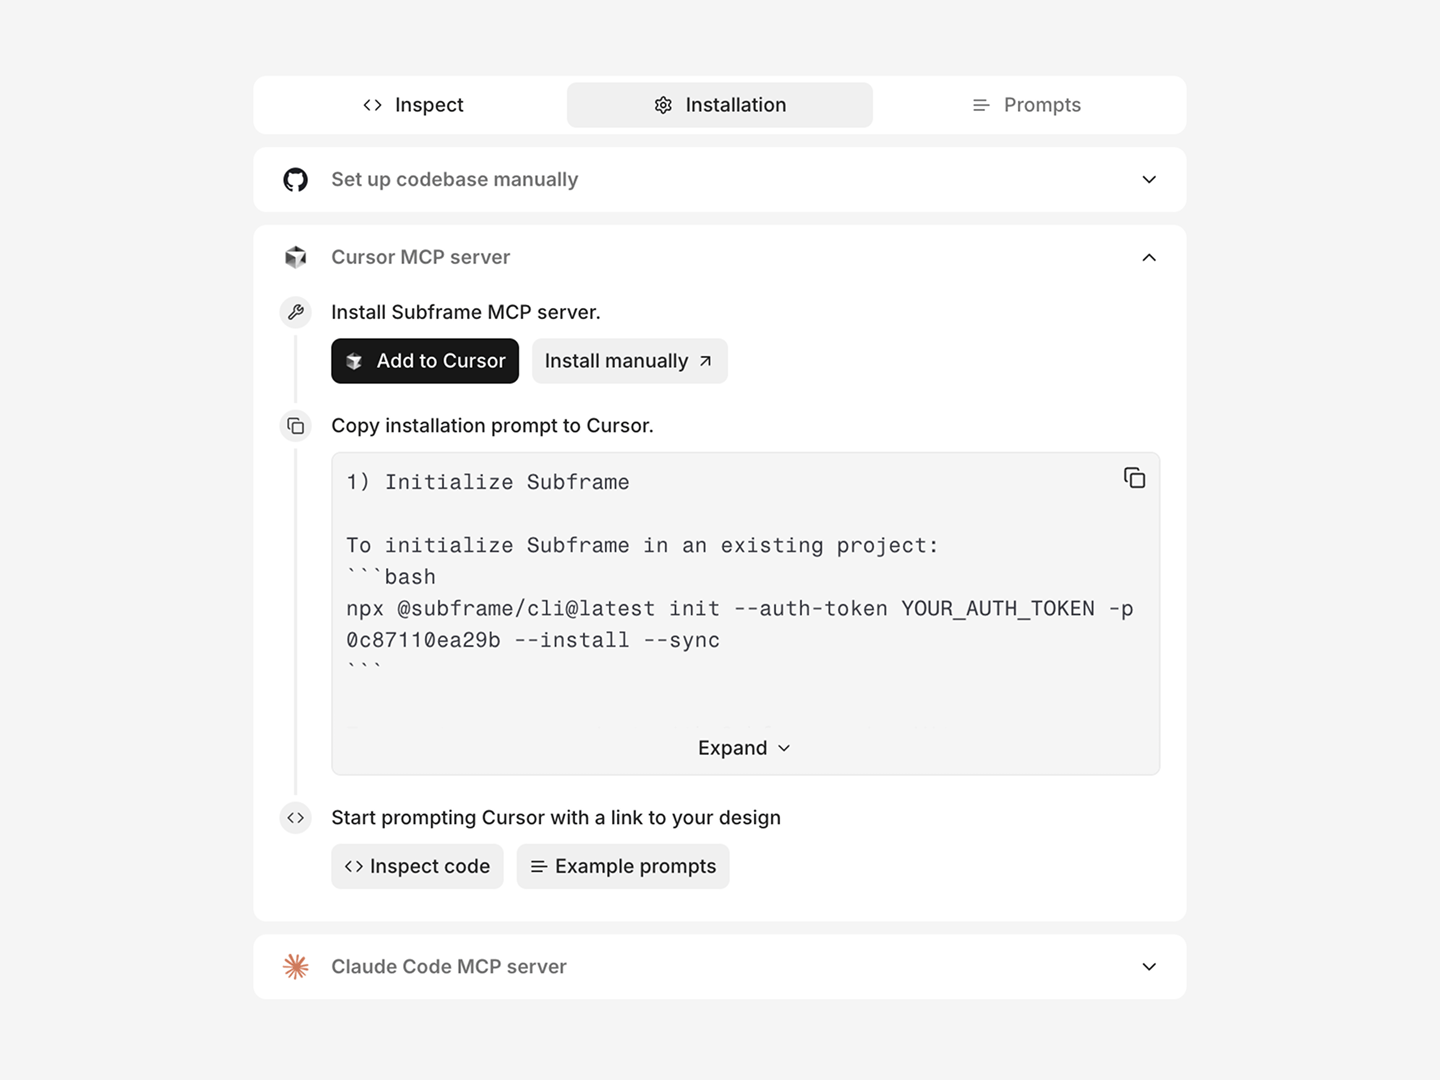 In the page editor, open **Code** > **Installation** to view Claude Code, Cursor, or Codex instructions specific to your project.
To learn more about the MCP server and its capabilities, see [MCP Server](/guides/mcp-server).
In the page editor, open **Code** > **Installation** to view Claude Code, Cursor, or Codex instructions specific to your project.
To learn more about the MCP server and its capabilities, see [MCP Server](/guides/mcp-server).
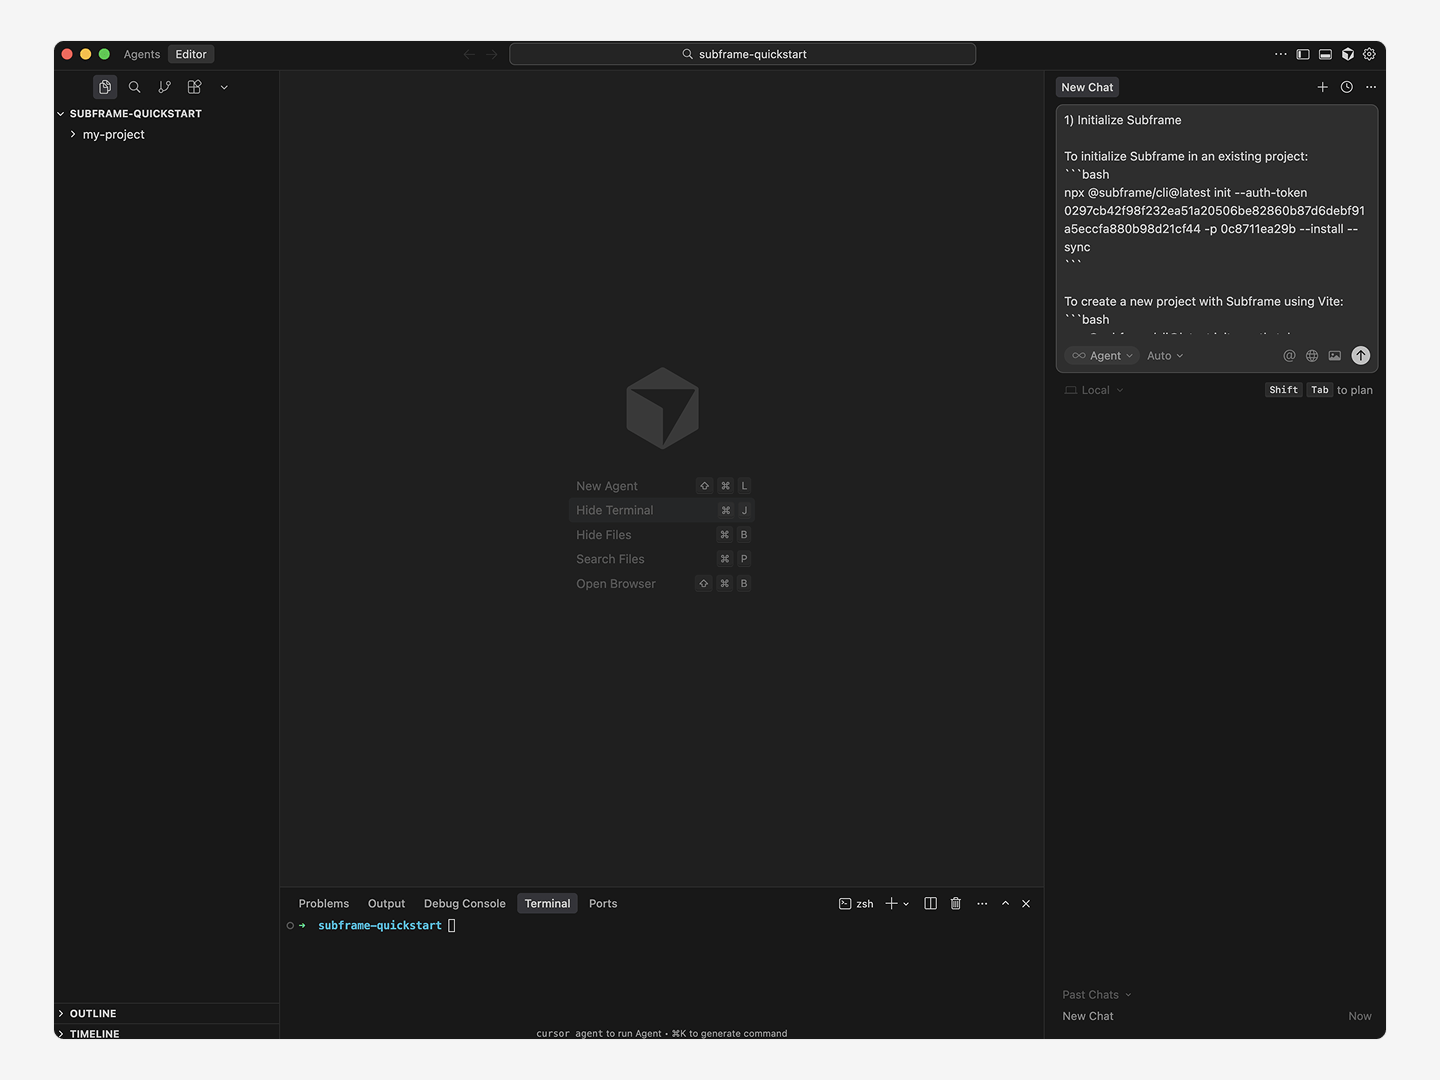 Copy the installation prompt in **Code** > **Installation** for Claude Code, Cursor, or Codex and run it in your project's root folder.
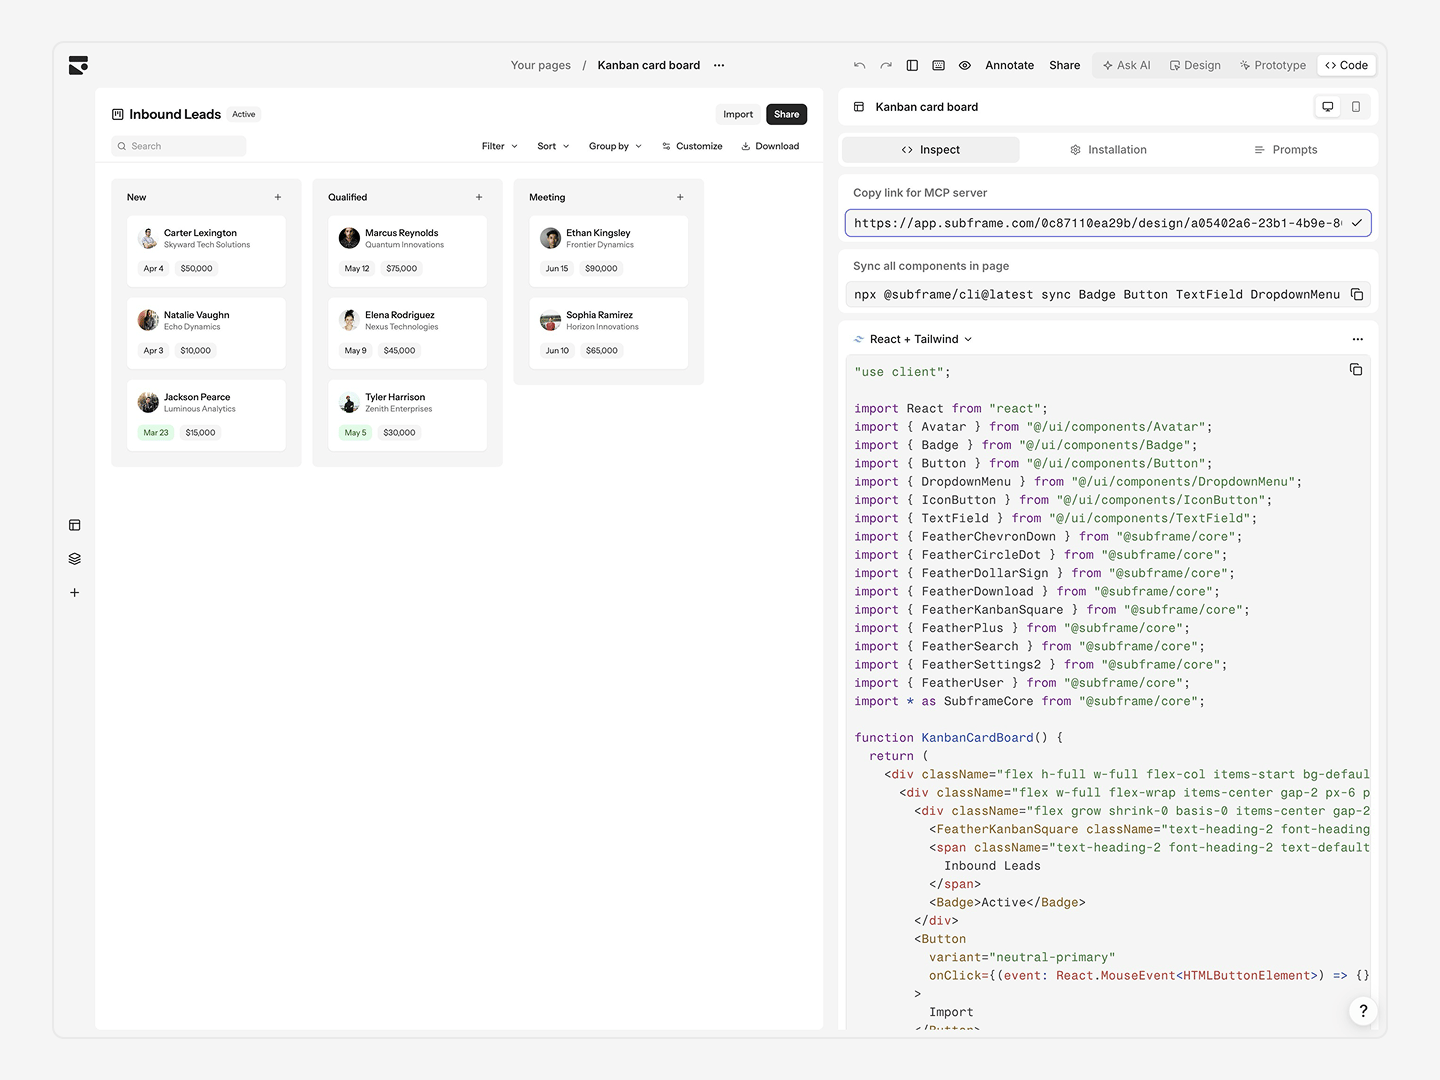 Switch to **Code** > **Inspect** and copy the MCP link from Subframe to add to your prompt:
> "Implement the design from this Subframe page \[YOUR\_PAGE\_MCP\_LINK]"
AI fetches the code via MCP and adds business logic.
If you created a new project, you can start your development server with:
```bash theme={null}
npm install
npm run dev
```
Open `localhost:3000`—your page renders exactly as designed.
You're all set! Your Subframe project is now connected and ready for development.
## Next steps
Understand how Subframe works under the hood.
Discover how to design using Subframe's visual editor.
Dive deeper into using Subframe for developer handoff.
Explore AI-powered design features.
Switch to **Code** > **Inspect** and copy the MCP link from Subframe to add to your prompt:
> "Implement the design from this Subframe page \[YOUR\_PAGE\_MCP\_LINK]"
AI fetches the code via MCP and adds business logic.
If you created a new project, you can start your development server with:
```bash theme={null}
npm install
npm run dev
```
Open `localhost:3000`—your page renders exactly as designed.
You're all set! Your Subframe project is now connected and ready for development.
## Next steps
Understand how Subframe works under the hood.
Discover how to design using Subframe's visual editor.
Dive deeper into using Subframe for developer handoff.
Explore AI-powered design features.